SET DESIGNING - 19th DEC
- Ibrahim Mohammad
- Dec 19, 2020
- 2 min read

I N T R O D U C T I O N
As per the schedule, I have my first shoot planned for tomorrow and so I had to design the set for the interior location. As per the schedule, I have the bedroom scenes on the 20th Dec night and 21st Dec morning.
Since I am going to shoot the film at the night I have to work on the lighting because without proper lighting I will not be able to achieve a cinematic effect. I researched about different types of lighting and designing a set. For research, I usually use the YouTube platform because I understand better with videos. I have attached a few of the video links below that I went through.
M Y S E T

The 2 bedroom scenes take place in one of the classrooms of the BALM Campus and since I had got permission to shoot designing, and setting up the set of comfortable without any side thoughts. After watching many videos on lighting and set design, I made my own set design in Photoshop.

I used the three-point lighting technique which many filmmakers adopt while shooting a scene. As you can I have the key light which will be present on the screen too and known as practical light too. Then followed by that I have the backlight, which will create highlights on the side cheek and hair of the subject, making it stand out from the background. Then I have the reflector as the fill light, which will help me decrease the shadows on the other side of the face of the subject. I have placed the key light on the side to achieve the effect of the Rembrandt lighting.
After designing the set and lighting, I had to make the lights that I wanted and for that, I asked one of my friends called Santhosh, who helped me to make the lights. There are other props too that I got for designing the set and shooting.

As you can see, I got the light stand for the key light. I made use of color papers as gel sheets, I got white cloths to use as diffusers for the morning shoot, and used waste aluminum sheets to make the reflector. I also got an external wire for the backlight and hanged it and for lighting, I used different LED Bulbs. I also collect some fairy lighting to use in the background.
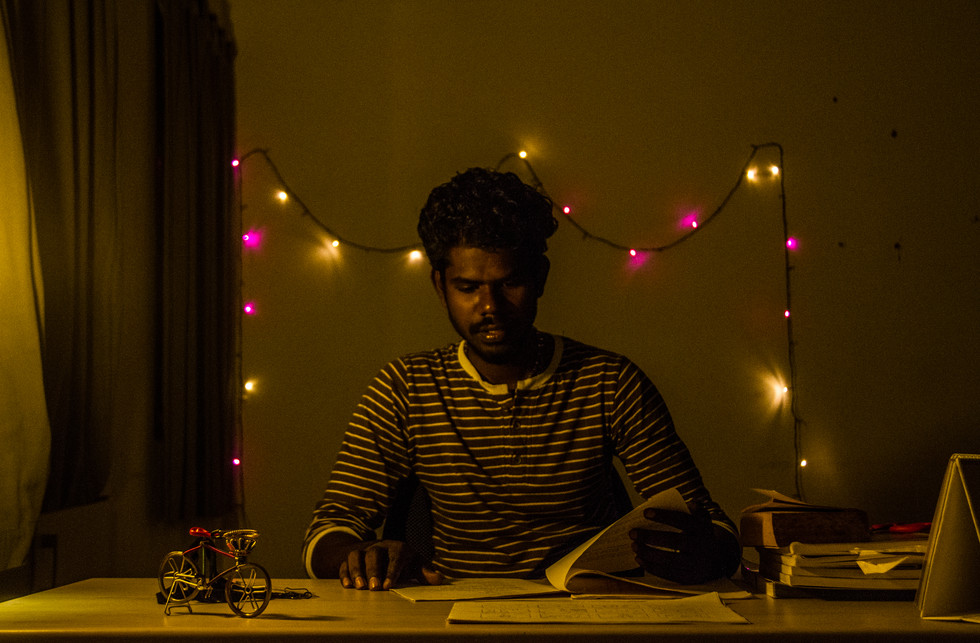
Below are sample pictures of the set. However, I have removed the fairy lights because I wanted a circular blurry effect which I wasn't able to achieve because of the lens, and second, it looked artificial without the blurriness. The model is one of my friends called Santha Kumar.


Comments